
How to Vectorize a Logo: Convert PNG or JPG to SVG
Learning how to vectorize a logo usually begins with a frustrating file: a small PNG, a compressed JPG, or a WebP that looks fine until you place it on a sign. Enlarge that file and the edges turn soft or pixelated because the artwork is tied to a fixed grid of pixels.
Vectorization rebuilds the visible logo as scalable paths and shapes. The result can be saved as SVG, inspected at different sizes, and opened in compatible design software for further work. This guide explains how to prepare the source, convert it, review the result, and choose the right logo format for the final use.

What Does It Mean to Vectorize a Logo?
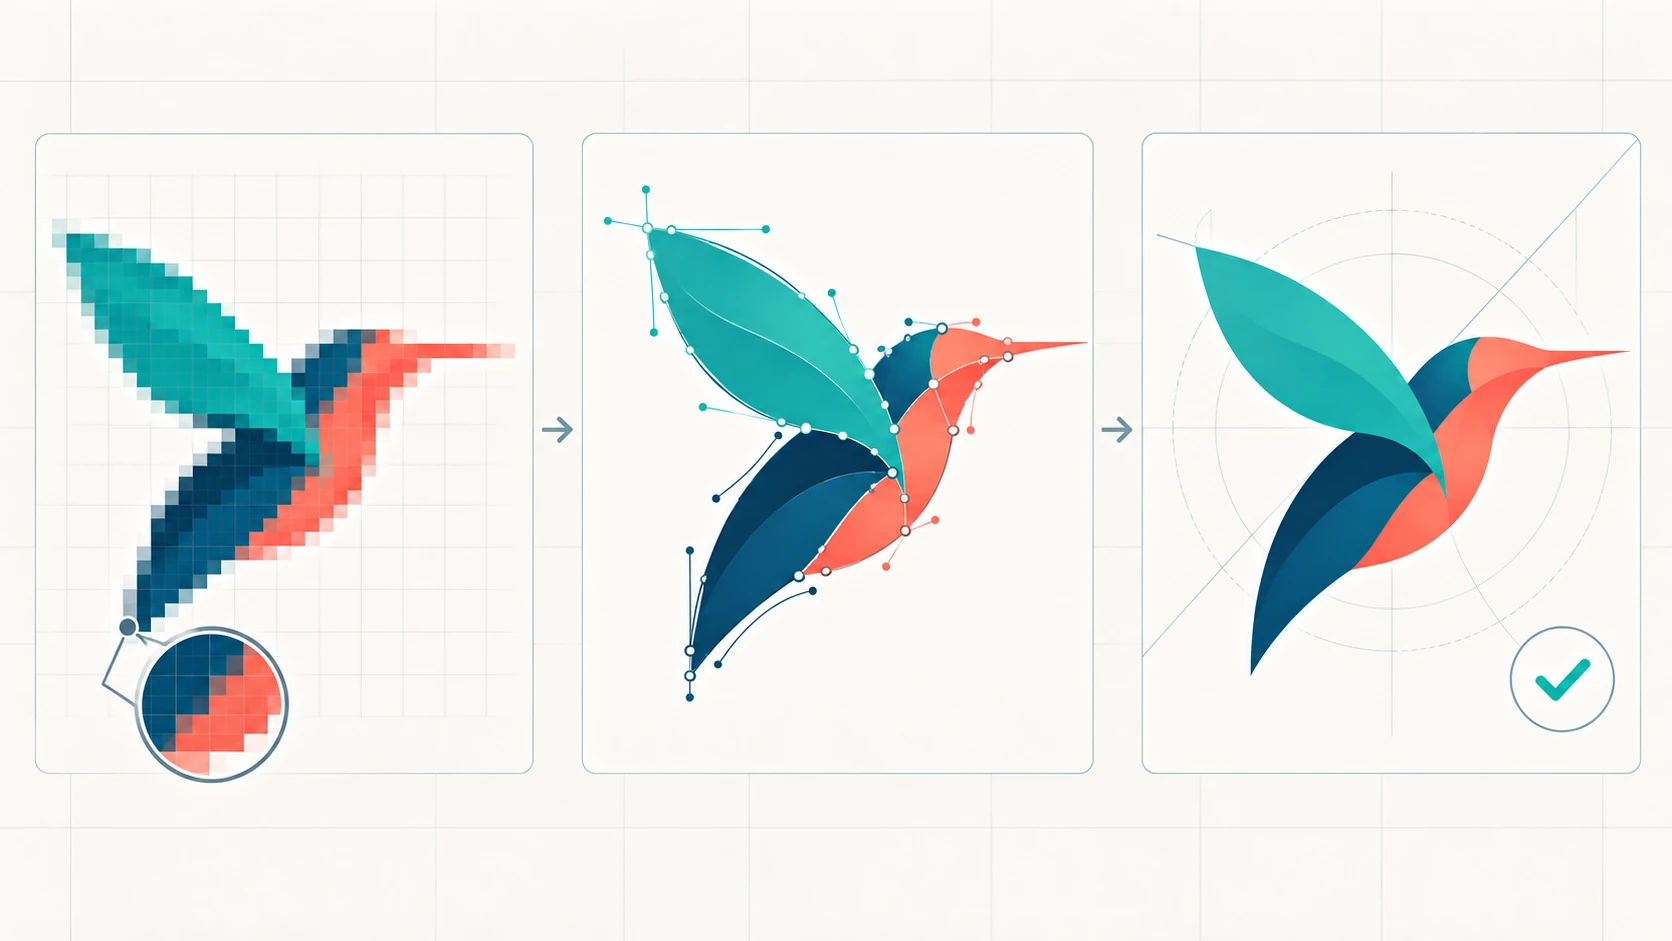
A raster logo stores color in individual pixels. A vector logo describes lines, curves, fills, and shapes mathematically. When you turn a logo into a vector, software interprets the visible edges and color regions in the raster image and creates new geometry that follows them.
That process is more than changing a filename. Renaming logo.png to logo.svg does not rebuild the artwork or make it scalable. A genuine conversion must create vector information inside the SVG file.
SVG is the output format used in the LogoCreator vectorization workflow. It is an open, XML-based vector format designed to render cleanly at different sizes, as explained in the MDN SVG guide.
Raster vs. Vector Logos
Raster and vector formats suit different jobs. Raster does not mean “bad quality”; it means the file has a fixed pixel resolution. A high-resolution PNG may be perfect for a social post, while SVG is more practical when the same mark must appear at very different sizes.

PNG, JPG, and WebP
PNG supports transparency and is useful for logos placed over different backgrounds. JPG is widely compatible and compact, but it does not support transparency and can introduce compression artifacts. WebP is efficient for web delivery and can support transparency, yet it is still a raster format.
All three depend on their original pixel dimensions. Making the display area larger does not add missing edge or lettering information.
SVG
SVG is suited to artwork built from paths and shapes. It can remain crisp when resized and may allow compatible paths, fills, and colors to be adjusted in software such as Figma or Illustrator. The available edits depend on how the converted file is structured and what the chosen application supports.
| Format | Scaling | Transparency | Typical editing | Common use |
|---|---|---|---|---|
| PNG | Limited by pixel dimensions | Yes | Raster editing | Social graphics, slides, overlays |
| JPG | Limited by pixel dimensions | No | Raster editing | Flat previews and simple sharing |
| WebP | Limited by pixel dimensions | Yes, when exported with it | Raster editing | Efficient web images |
| SVG | Scales through vector geometry | Yes | Paths and fills in compatible tools | Websites, brand systems, scalable layouts |
When Do You Need a Vector Logo?
A vector logo is useful when one approved mark must work across many sizes. On websites and high-density displays, SVG can keep edges clear without a separate oversized bitmap for every placement. For packaging, business cards, labels, and signs, a scalable source gives designers and vendors more flexibility.
SVG is not automatically the final answer for every platform or print job. Some social networks still require PNG or JPG, and a printer may request PDF, EPS, a specific color mode, bleed, outlined type, or spot-color preparation. Always follow the receiving platform or vendor's specifications.
How to Prepare a Logo for Vectorization
Begin with the strongest source you can find. Before tracing a screenshot, check shared drives, old project folders, press kits, and messages from the original designer for an existing SVG, AI, EPS, or vector PDF. If a trusted vector master exists, use it instead of recreating it.
When a raster file is the only option:
- Choose the largest, clearest legitimate copy available.
- Crop away unrelated scenery and leave the full logo visible.
- Check spelling, proportions, colors, and orientation before conversion.
- Prefer a simple or transparent background when the background is not part of the mark.
- Avoid beginning with a thumbnail, heavily compressed screenshot, or blurred photo.
A transparent background is helpful when it separates the logo cleanly, but it is not mandatory for every conversion. If a white box or busy scene interferes with the mark, use this guide to prepare a transparent logo first.
How to Vectorize a Logo Step by Step
LogoCreator provides a focused browser workflow for converting an existing raster logo into SVG. The interface currently accepts JPG, JPEG, PNG, and WebP files up to 8MB.
1. Upload the raster logo
Choose the cleanest source file. Uploading prepares the preview; it does not start vectorization. If the file is difficult to read at normal size, find a better source before continuing.
2. Start the vectorization
Select Vectorize when the file is ready. The conversion begins only after this action. The tool processes the raster artwork and creates an SVG result rather than simply placing the original pixels inside a differently named file.
3. Compare the bitmap and SVG result
Use the Bitmap and Vector SVG comparison preview to inspect the conversion. Check the silhouette first, then examine lettering, enclosed spaces, colors, curves, corners, and small details. A result can look convincing while still changing one letter or filling an important gap.
4. Download and test the SVG
Select Download SVG, then open the downloaded file in the software or browser you expect to use. Test it at a small size and at a much larger size. If the logo is going to a printer, sign maker, embroidery vendor, or packaging supplier, send the SVG for a technical check before production.
Ready to try the workflow? See how to vectorize a logo from your own PNG, JPG, or WebP file.
How to Check a Vectorized Logo
Automatic vectorization still needs review. Use this checklist before adding the SVG to a brand library:
- Silhouette and major shapes: Compare the overall form with the approved raster logo.
- Lettering and spacing: Read every character and check kerning, counters, and line breaks.
- Negative space: Confirm that intentional holes and gaps remain open.
- Brand colors: Compare fills with trusted color values instead of judging only by one screen.
- Curves and corners: Look for bumps, excess points, rounded corners, or sharp joins that changed.
- Small-size readability: Reduce the logo to its smallest realistic placement.
- Large-size edge quality: Zoom in or place it in a large layout to reveal uneven paths.
- Workflow compatibility: Open the file in the intended browser, design tool, or production handoff.
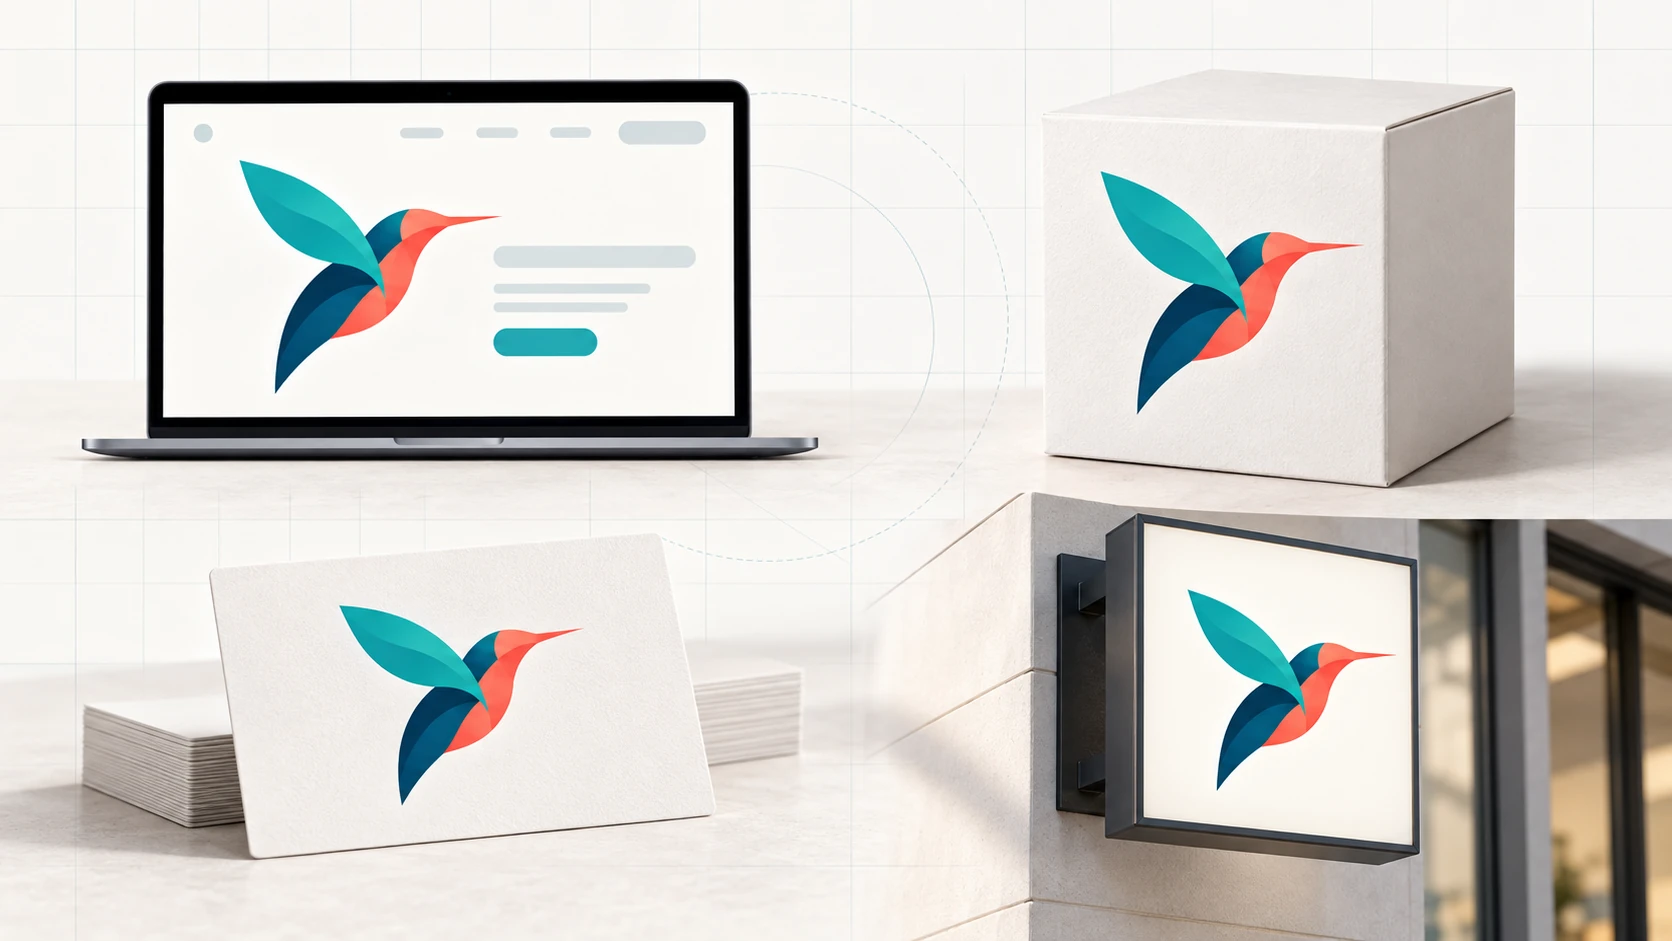
For a realistic visual check, you can also test the logo in a mockup. A package, sign, or website header often exposes balance and spacing problems that are easy to miss on a blank canvas.
Common Logo Vectorization Problems
Blurry or heavily compressed sources
Vectorization cannot recover information that is no longer visible. Upscaling a tiny JPG adds pixels but does not restore the original curve or letterform. Find a stronger source or redraw critical geometry.
Gradients, textures, shadows, and photos
Complex effects may become many small shapes or unexpected color bands. Decide which effects are essential. A flatter master logo may convert more cleanly, while a textured campaign version can remain raster.
Distorted lettering or spacing
Small text is sensitive to blur and compression. Compare every character with the approved wordmark. For a permanent identity asset, rebuild the type rather than accepting an approximate trace.
Extra shapes or lost negative space
A background, JPEG halo, or shadow can become unwanted geometry. Inspect areas inside letters and symbols, then remove or redraw incorrect shapes in compatible vector software. Adobe's official Image Trace guidance is one option when detailed manual control is required.
Treating the first result as production-ready
The first conversion is a starting point, not a guarantee. Review the SVG at real sizes and ask the receiving vendor to confirm technical requirements. Exact brand geometry may require professional cleanup or a manual redraw.
Which Logo Format Should You Use?
Keep more than one approved export because no single format fits every destination.
- SVG Vector: Use where SVG is accepted and scalable artwork or compatible vector editing is useful.
- PNG Transparent: Use for social graphics, presentations, documents, and overlays that need a transparent background.
- JPEG Standard: Use when a flat image with a solid background is expected and broad JPG compatibility matters.
- WebP: Use as an efficient web raster or as a supported upload source; the current vectorization workflow downloads SVG rather than WebP.
Frequently Asked Questions About Vectorizing a Logo
Can any logo be vectorized?
Most raster logos can be interpreted as vector shapes, but results depend on the source. Flat, clear marks are easier to convert than photographs, fine textures, tiny lettering, or effects-heavy designs. Some need manual cleanup.
Can I convert a PNG logo to SVG without Illustrator?
Yes. An online workflow can convert a PNG, JPG, JPEG, or WebP logo and produce an SVG without requiring Illustrator. You should still inspect the paths, colors, lettering, and negative space before using the file as a master asset.
Is changing the file extension enough to create a vector logo?
No. Renaming .png to .svg changes only the filename. Proper vectorization must create paths and shapes. An SVG can also technically contain an embedded raster image, so a file with an .svg extension is not automatically proof that the artwork was rebuilt as vector geometry.
Can I edit the downloaded SVG?
You can open it in software that supports SVG and work with compatible parts of the converted artwork. The degree of editability depends on the SVG structure and the application's features; do not assume every result will contain perfectly separated or logically named layers.
Is SVG always the best format for a logo?
No. SVG is valuable for scalable web and design workflows, but many platforms request PNG or JPG. Printers and fabricators may require another prepared format or production setup. Choose the file based on where it will be used.
What should I do if I do not have a logo yet?
Create the logo concept before vectorizing. You can follow this guide to create a professional logo with AI, or use an image-led workflow when you need to turn a picture into a logo. Vectorization is for converting an existing logo, not redesigning a photo or reference image into a new identity.
Turn Your Logo into a Scalable SVG
Now you know how to vectorize a logo without confusing conversion with a filename change. Start with the clearest source available, create the SVG, compare it with the approved mark, and test it in the real destination. That review is what turns an automatic conversion into a dependable brand asset.